
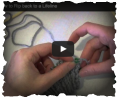
How to Insert a Lifeline
|
The Lifeline, A Safety Net For 'Frogging' Or Ripping Out
To Place A Lifeline 1. To place a lifeline, use a contrasting color yarn of similar or less weight than you are working with (you can also use dental floss!), and thread it on a yarn needle. This piece of yarn should be a few inches longer than the width of the stitches on your needles. 2. Starting at either end of your work (or at a round marker if you are working in the round), thread the needle through all of the stitches on your needle so that the waste yarn follows the same path through the stitches as your needle. Be careful NOT to thread the lifeline through your stitch markers! 3. When you have gone through all the stitches, make sure there is some hanging out on the ends so you can remove it later and so it will preserve the stitches as they are. 4. Continue knitting as normal, avoiding knitting with the waste yarn. Just pretend it is not there! 5. Remember to move up your lifeline frequently to "click save" on your knitted work! (You can just pull it out and replace it on a later row). **Additional Tip: Be sure to make yourself a note about which row you are on in your pattern where you place your lifeline, in case you have to rip back to it you will know where to pick up the pattern. |
How to pick up stitches after frogging or ripping
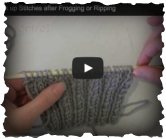 How to pick up stitches after frogging or ripping How to pick up stitches after frogging or ripping
If you rip out your stitches one at a time, you can insert your needle into them and preserve stitch mount as you rip.
Advanced Step: How to Tink (unknit)
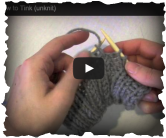 How to tink (unknit) How to tink (unknit)
When tinking, insert your needle from front to back for every stitch. Knits and purls you tink the same way.
|
More videos you might like...
 How to decrease SSK (slip slip knit) continental style How to decrease SSK (slip slip knit) continental style
How to SSK (slip slip knit) continental style
The slip slip knit (ssk) decrease is often used to complement the k2otg (knit two together) decrease stitch in lace knitting. |
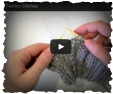
 How to fix knit instead of purl How to fix knit instead of purl
How to fix knit instead of purl
The most common mistake of new knitters is to incorrectly perform rib stitches. Instead of tinking you can fix knit instead of purl stitches on the next row of your knitting. |