Beyond working with needles and yarn, a challenge of being a knitter is learning to interpret and follow knitting patterns. Written in a condensed "knit-speak" of abbreviations and other knit-isms that are usually only learned from experience, patterns may contain the keys to creating beautiful works of art, but only if you can learn the sometimes secret language they contain.
Hand knitting creations of love also takes time, usually multiple sessions, so learning to follow patterns and keep track of where you are (or where you left off) is an additional task to track. This can be especially difficult for beginners, who are already trying to learn the muscle memory of just handling the yarn and needles.
In my beginning knitting days, I used to write out condensed instructions in patterns in expanded form. While it was good practice to determine what the pattern was trying to say, it also introduced a lot of room for error in those translations. In some cases, however, I still find it helpful to write out some instructions.
When helping knitters on their projects, I see many methods of tracking patterns. Usually lots of little check marks or scribbles on the page.
In this post, I want to share a few ways that I keep track of where I am in patterns, with the hope you try some and it eases your knitting experience. You will notice an emphasis on "using the tools," which is something I love about knitting - that there are tools - and how it helps take our mind off everything except the knitting itself.
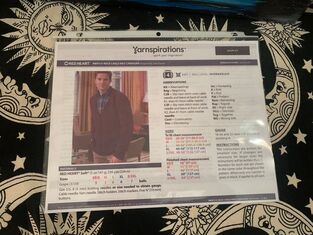
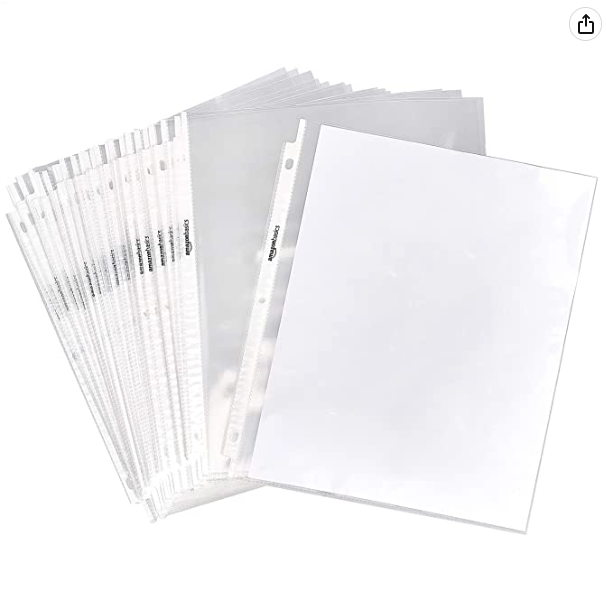
1. Printed Pattern - Tools: Sheet Protectors. I am actually quite a technical person, being in software development, and while there are several very fun apps out there that help you track your pattern, nothing feels quite like paper in your hand. I also like to have the pattern printed in case my device with the app dies, or I forget that that is where the pattern is. It's also easier to write notes directly on patterns, and I don't always trust the applications to save everything. Long ago I bought a huge pack of those see-through slip sleeves, so I put each pattern into that to keep the pages together (works better than a staple) and also protects the paper from getting quite as crumpled.
2. Multiple sizes - highlight your size. If the pattern you are working from has multiple sizes, before you start working it, I recommend highlighting the instructions that correspond to the size you'll be working throughout the pattern. Then you won't have to remember or think about having to follow the instruction listed second in the parentheses, etc every time you encounter it. This is another benefit to having the pattern printed out. I will also use highlighter tape to do this, if I don't have an actual highlighter handy.
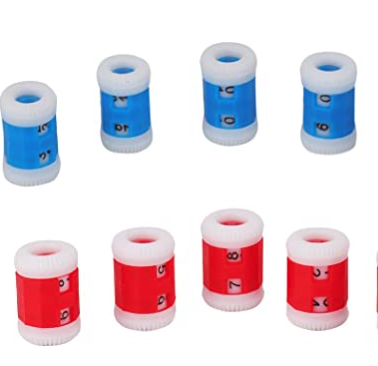
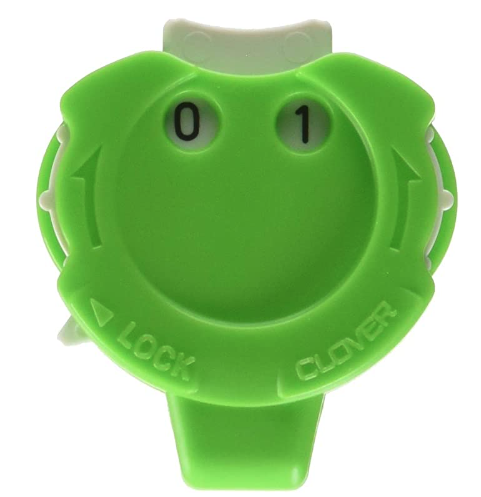
3. Tools: Row counters. I love me some clickers! The row counters that make a very satisfying "click" noise whenever you track a row. But I also love the row counter wheels that hang directly off your needles. I've found them in both the kind that fit onto a needle, and the kind that *double* as a round marker! My advice for how to set your row/round counter, is to have it say the number of the row or round you are ON. If you are about to start a row, it should say the number of that row. i.e. if you have just cast on your work and joined in the round, your row counter will read "01." That way, if I stop knitting in the middle of my row, I will always know which row I am on! I highly recommend using row counters over just check marks on a sticky note (a technique I see a lot of beginners use) because the number is easier to read off a counter vs having to count up checks! Also, it tells you more about where you are in the pattern. See also: Highlighter tape.
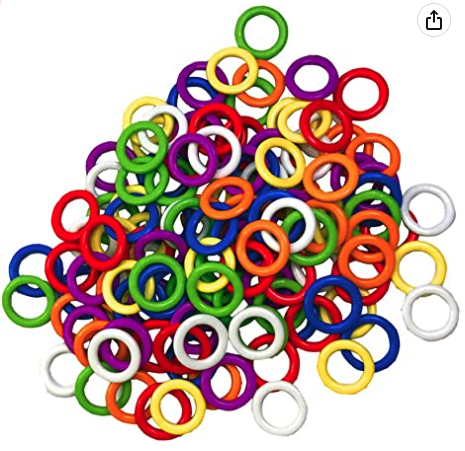
4. Tools: Stitch markers. I love using stitch markers! It helps keep the counting down. I like to put them between repeats of patterns within rows. I'll use the ones that look like little safety pins to mark which side of my work is the "right side." Stitch markers come in all sorts of fun styles and colors, and some are better than others depending on your project. While the fun ones with lots of dangling bits are cute, they often get stuck in my yarn so I usually use the solid round ones the most. The way these help me keep track of where I am in my pattern is especially in repeats of patterns. If I have a marker at the beginning of each repeat, I can look back and read my knitting just from that repeat, rather than having to go all the way to the beginning of the row.
5. Tools: Highlighter tape. Another great use of highlighter tape is when following charts. In a chart I may use it to underline the row that I am working. One caution about the tape: if you put it directly on the slippery sleeve, it might lose its stick and fall off. So better to put it directly on the pattern and put that into the sleeve before storing! I've learned this the hard way a few times.
I also use a piece of tape directly on my pattern at the place of my instruction. Sometimes you'll be following an instruction block for awhile, i.e. "Knit until piece measures x inches from cast on edge." Putting the tape there helps me to know which part of the pattern I'm in when I come back to a pattern after setting it down for awhile.
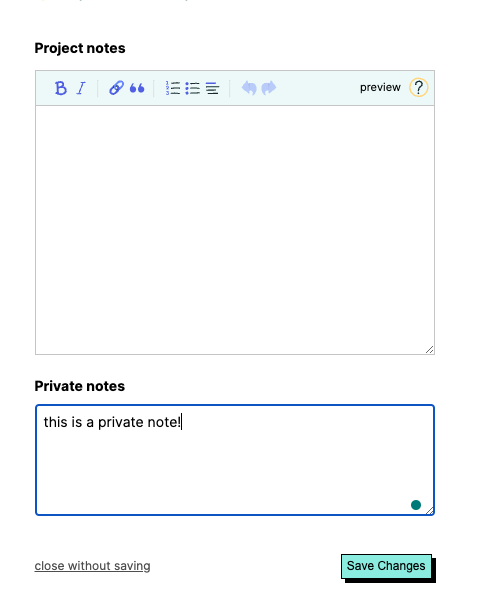
6. Ravelry notes! Of course I love tracking my projects in Ravelry! There are many reasons to do this (see some of my other posts about patterns), but Ravelry also has a great section for notes on each of your projects. There is even a "private notes" section, in case you don't want your ramblings public to the world. This is a nice way to have everything about your pattern tracked in one place. Because of course I love putting in the details about which yarn, needles, etc I used.
List of handy tools mentioned here:
Hand knitting creations of love also takes time, usually multiple sessions, so learning to follow patterns and keep track of where you are (or where you left off) is an additional task to track. This can be especially difficult for beginners, who are already trying to learn the muscle memory of just handling the yarn and needles.
In my beginning knitting days, I used to write out condensed instructions in patterns in expanded form. While it was good practice to determine what the pattern was trying to say, it also introduced a lot of room for error in those translations. In some cases, however, I still find it helpful to write out some instructions.
When helping knitters on their projects, I see many methods of tracking patterns. Usually lots of little check marks or scribbles on the page.
In this post, I want to share a few ways that I keep track of where I am in patterns, with the hope you try some and it eases your knitting experience. You will notice an emphasis on "using the tools," which is something I love about knitting - that there are tools - and how it helps take our mind off everything except the knitting itself.
1. Printed Pattern - Tools: Sheet Protectors. I am actually quite a technical person, being in software development, and while there are several very fun apps out there that help you track your pattern, nothing feels quite like paper in your hand. I also like to have the pattern printed in case my device with the app dies, or I forget that that is where the pattern is. It's also easier to write notes directly on patterns, and I don't always trust the applications to save everything. Long ago I bought a huge pack of those see-through slip sleeves, so I put each pattern into that to keep the pages together (works better than a staple) and also protects the paper from getting quite as crumpled.
2. Multiple sizes - highlight your size. If the pattern you are working from has multiple sizes, before you start working it, I recommend highlighting the instructions that correspond to the size you'll be working throughout the pattern. Then you won't have to remember or think about having to follow the instruction listed second in the parentheses, etc every time you encounter it. This is another benefit to having the pattern printed out. I will also use highlighter tape to do this, if I don't have an actual highlighter handy.
3. Tools: Row counters. I love me some clickers! The row counters that make a very satisfying "click" noise whenever you track a row. But I also love the row counter wheels that hang directly off your needles. I've found them in both the kind that fit onto a needle, and the kind that *double* as a round marker! My advice for how to set your row/round counter, is to have it say the number of the row or round you are ON. If you are about to start a row, it should say the number of that row. i.e. if you have just cast on your work and joined in the round, your row counter will read "01." That way, if I stop knitting in the middle of my row, I will always know which row I am on! I highly recommend using row counters over just check marks on a sticky note (a technique I see a lot of beginners use) because the number is easier to read off a counter vs having to count up checks! Also, it tells you more about where you are in the pattern. See also: Highlighter tape.
4. Tools: Stitch markers. I love using stitch markers! It helps keep the counting down. I like to put them between repeats of patterns within rows. I'll use the ones that look like little safety pins to mark which side of my work is the "right side." Stitch markers come in all sorts of fun styles and colors, and some are better than others depending on your project. While the fun ones with lots of dangling bits are cute, they often get stuck in my yarn so I usually use the solid round ones the most. The way these help me keep track of where I am in my pattern is especially in repeats of patterns. If I have a marker at the beginning of each repeat, I can look back and read my knitting just from that repeat, rather than having to go all the way to the beginning of the row.
5. Tools: Highlighter tape. Another great use of highlighter tape is when following charts. In a chart I may use it to underline the row that I am working. One caution about the tape: if you put it directly on the slippery sleeve, it might lose its stick and fall off. So better to put it directly on the pattern and put that into the sleeve before storing! I've learned this the hard way a few times.
I also use a piece of tape directly on my pattern at the place of my instruction. Sometimes you'll be following an instruction block for awhile, i.e. "Knit until piece measures x inches from cast on edge." Putting the tape there helps me to know which part of the pattern I'm in when I come back to a pattern after setting it down for awhile.
6. Ravelry notes! Of course I love tracking my projects in Ravelry! There are many reasons to do this (see some of my other posts about patterns), but Ravelry also has a great section for notes on each of your projects. There is even a "private notes" section, in case you don't want your ramblings public to the world. This is a nice way to have everything about your pattern tracked in one place. Because of course I love putting in the details about which yarn, needles, etc I used.
List of handy tools mentioned here:
- Sheet protectors. (Those see-through sleeves for paper) - the kind that can later go in a 3-ring binder!
- Highlighter tape! Comes in lots of fun colors
- Row counters. So many varieties. So many fun ways to count.
- Stitch markers. Lots of styles, many uses.


 RSS Feed